Car Seat Checkup 2 of 3: Setup and Install
Note: This is intended as a checkup for parents who are already familiar with their car seats, and should not be taken as a start-to-finish instruction guide for new parents. If anything here goes against the instruction manual for your car seat, follow the manufacturer’s instructions. If you have any questions not answered here, seek the help of a Child Passenger Safety Technician (CPST). In the Phoenix, AZ area? Click here to book an in-person appointment.
Click Here to Read Part 1
Click Here to Read Part 3
Adjust the car seat to match your child’s current size. This is a big area where I see people make mistakes. If you are using a car seat (not a booster) and have not made any adjustments in a while, pay attention! There are as many different ways to adjust as there are seats, so I will ask you to refer to your owner’s manual for the specific how-to. Here are a few possible methods:
- unhook the shoulder harness straps from behind the car seat and re-route them to the appropriate height
- pinch or pull something and slide the headrest/shoulder harness up or down
change the hip width - change the length and/or position of the crotch buckle
- remove part of the padding as the child grows
As you can see, there is a lot of variability from model to model, which is why I want you to peek back at the directions. There are some universal rules, however, that apply to all car seats. For all car seats in rear-facing mode, the height of the shoulder harness should be level or just slightly below the top of your kid’s shoulders. This rule reverses for forward-facing seats, where the harness should be level or just slightly above shoulder height.
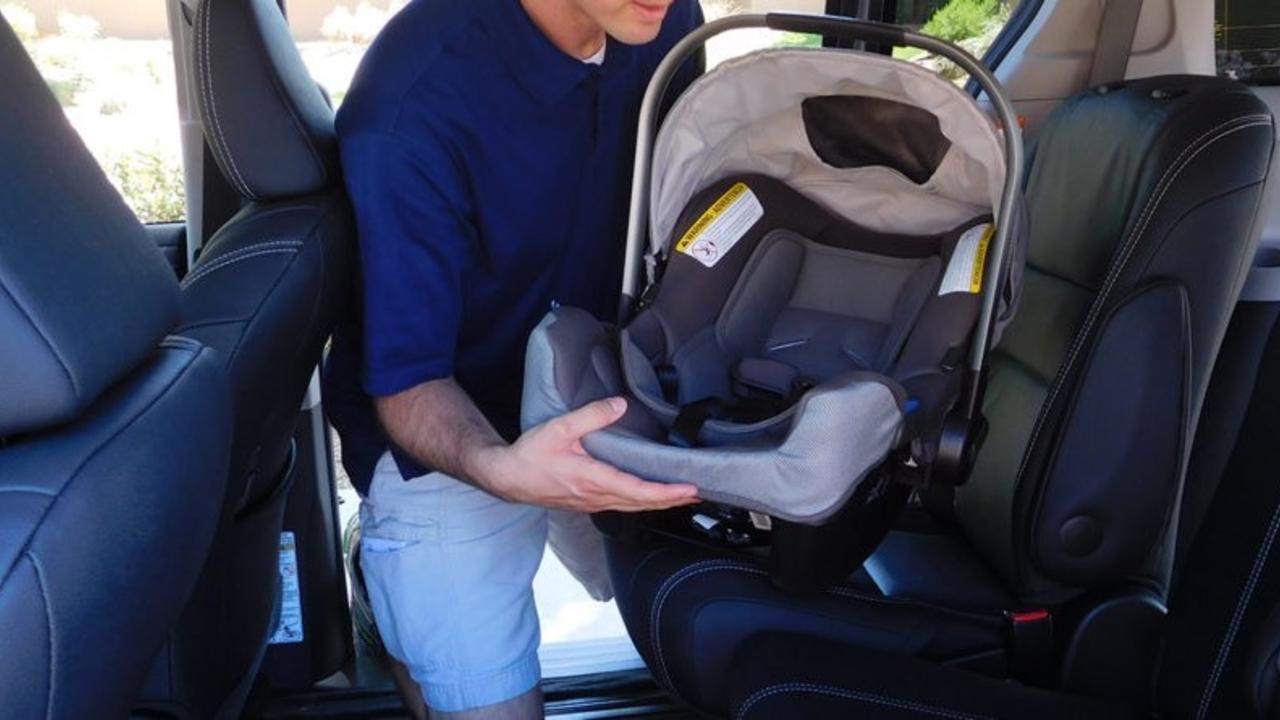
Install the car seat as shown in the manual. (Again with checking the instructions!? Yes.) Unless you have one of the rare car seats that specifically states it’s ok to use both, you must use either the lower anchors or the car’s seat belt to secure the car seat. They are equally safe when used as directed, however, there are a couple things to keep in mind when using the lower anchors.
First, very few vehicles are actually built to use lower anchors in the center seat. So if you prefer using them, it’s likely that you must place the child restraint in the outboard seats. Second, know that the child’s weight limit may be less than if you were using the seat belt. This is because the lower anchors on the vehicle are only required to be tested at 65 pounds, so if the car seat plus your child’s weight are above that, you will need to use the seat belt.
After it is installed correctly, the seat is permitted to have up to an inch of travel when shaken back and forth at the part closest to the seat belt. If you are having trouble getting it snug enough or you have any other safety concerns, please reach out to a local CPST to help. (Phoenix, AZ area help here). We may come up with a seating arrangement or other change that can work better for you. The goal is always to teach you how to do it correctly and safely every time.
Next time I cover harnessing and answer some of my most frequently asked questions. Be sure to read the whole series.
